How To: Audi A3 Front Wheel Hub Replacement
 Chad Waite
- 03 Aug 2013 02:46
- 1036
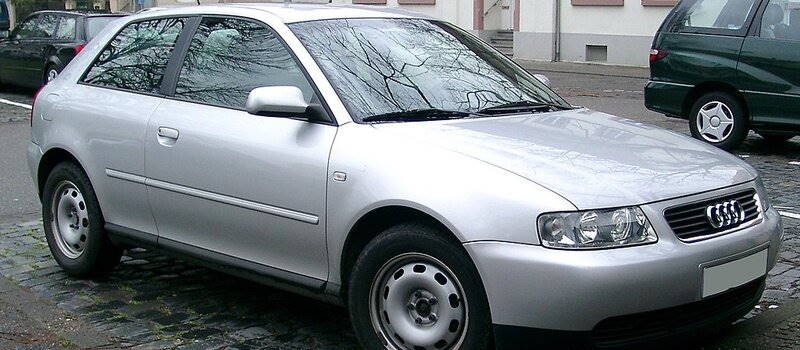
My wife’s A3 has reached the point where it become the cause of my lack of sleep. It’s not that anything catastrophic has happened to the car, but at 91,000 miles, zee German engineering is just beckoning to have something go wrong with it.
So, the best way to beat it is to stay one step ahead of it, right?
At 65 mph I began to hear a consistent buzz coming from the front driver-side wheel, which would get louder with speed and became especially pronounced when turning right (more weight being shifted to the driver's side of the car), clearly indicating a bad wheel bearing.
Wheel bearing replacement is pretty standard preventative maintenance, but if you don’t know what you’re doing or don’t have a guide, it can be a somewhat intimidating process. Double that intimidation when you’re working with a car from zee motherland where the manufacturer decides it’s a good idea to use a new bolt pattern at every turn.
So to avoid the pain of going to Autozone or Lowes for the right socket again and again, here is a complete guide on how to replace an Audi A3 wheel hub.
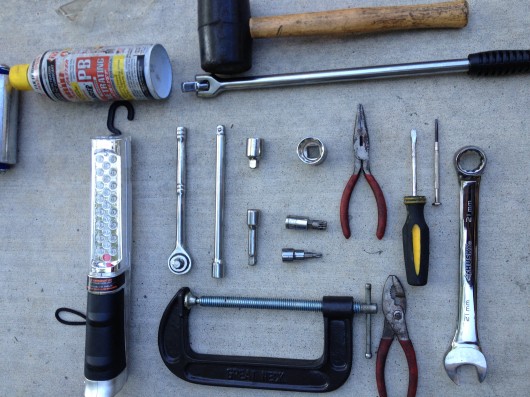
Tools Needed
- Breaker bar (1/2 drive)
- Socket wrench (3/8 drive)
- Rubber mallet
- Socket extensions. I used a 2-inch and an 8 inch
- 24mm 12-side socket and/or 26mm 6-side socket*
- 1/2 to 3/8 socket drive adapter
- 12mm (M12) triple square driver
- T30 Torx bit
- 21 mm wrench (or socket)
- C-clamp
- Pliers
- Flathead screwdriver
- PB Blaster (or other penetrating sprays)
- Eye protection, gloves
- Jack, jack stands
- Metal coat hanger wire
*For whatever reason, my A3 had two different axle bolts that needed removal: a 24mm 12-side socket on the passenger side and 26mm 6-side socket on the driver side.
Step-By-Step
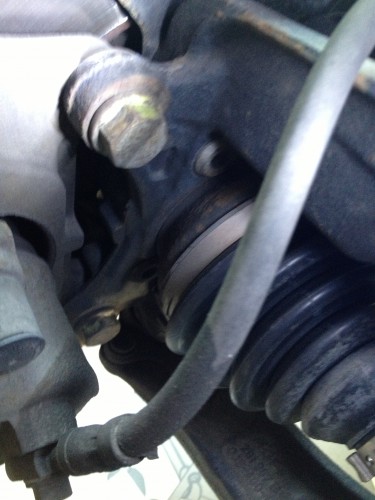
1. Start by popping off the Audi logo in the center of the wheel to get access to the axle bolt. You’ll need to loosen this initially before doing anything else. To break the bolt, use the breaker bar with either the 24mm 12-side socket or the 26mm 6-side socket depending on which size your car is using. After you’ve loosened the axle bolt, take it all of the way out then pull off the decorative lug nut covers using pliers. It’s important to break the bolt while the car is on the ground. Otherwise, you’ll be torquing your tranny while trying to break the bolt if you skip this step and do it after the car is lifted. Once the bolt is broken, loosen your lug nuts too.
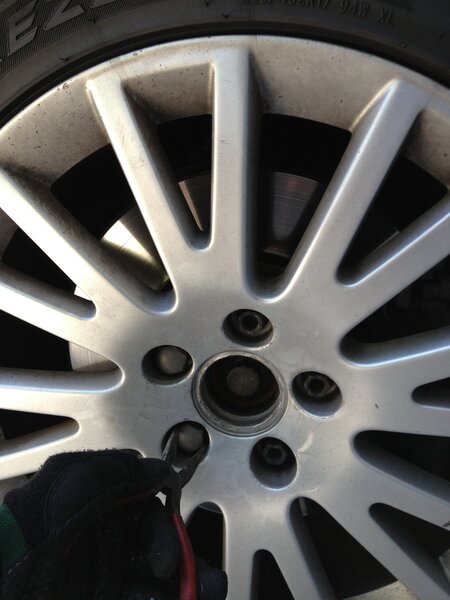
The A3 axle bolt after removing the Audi emblem center cap.
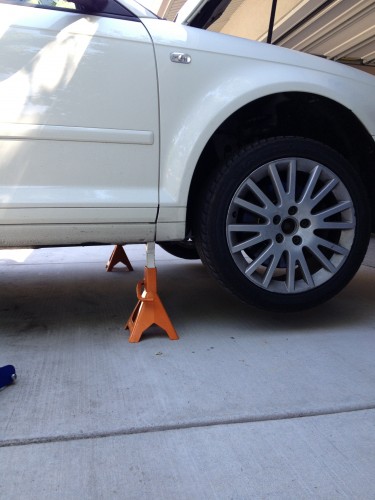
2. Lift the car on both sides, even if you’re just changing one side’s wheel hub. The ability to easily turn your wheels in the air will be super helpful later. Make sure you use jack stands and don’t just leave it on a jack. Take your tires off.
3. Remove the brake calipers/brackets. Both can be removed at once by loosening the 21mm bracket bolts. I used a closed 21mm wrench, but a socket would work here as well. Some PB Blaster may be needed to help break the bolts.
When removing the calipers from the rotor, my rotor had a small lip on the outside that prevented me from simply slipping the caliper off. To get around this I first popped the hood and took the cap of my brake’s master cylinder (absolutely make sure you do this first). I then took my flathead screwdriver, worked it into the caliper, and then pried the caliper open ever so slightly, just enough to allow it to slip off the rotor and clear the lip with ease.
A view of the top Audi A3 caliper bracket bolt.
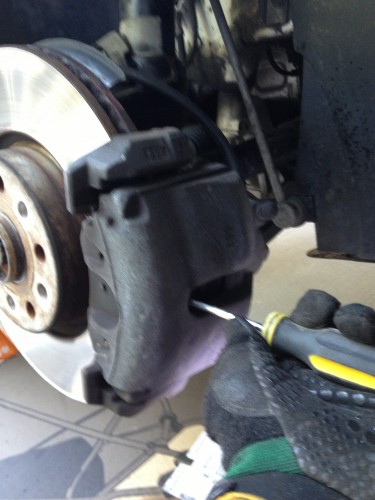
Using a screwdriver I gently pried my caliper open a bit. Remember to take your master cylinder cap off BEFORE doing this.
4. Once you have the caliper off, it’s time to hang it up and out of the way. I used a little bit of metal coat wire hanger to form a makeshift hanger that wrapped around the top of the spring coil to hang the caliper. Make sure the brake line isn’t bent awkwardly or pinched in any way. Once you have the caliper hung out of the way, use the C-clamp on it to prevent the caliper from compressing while you’re working. Just lightly place the C-clamp on the caliper- there’s no need to compress the caliper any further than what you already did with the screwdriver in the step before. The C-clamp is purely a preventative measure.
5. Remove the T30 Torx bolt from the rotor. After the bolt is removed you can take off the rotor. My rotor took a lot of persuasion from my rubber mallet before cooperating. Eventually, after hitting the rotor from behind, putting the car in neutral, and rotating it around to hit the other side, it came off.

The T30 Torx bolt attached to the rotor. Note that my axle bolt is still in (I found out I had to take it out before the hard way!)
6. After the rotor is off, remove the dust shield by unscrewing the three simple T30 Torx screws holding it in place. Behind the dust shield is the brake sensor connector. Unclip that by using a small flathead screwdriver and popping up the snap tab as the base (see photo below). Now, the full outgoing hub and bearing are exposed.
The dust shield behind the rotor. You can see two of the three T30 Torx screws in this photo.
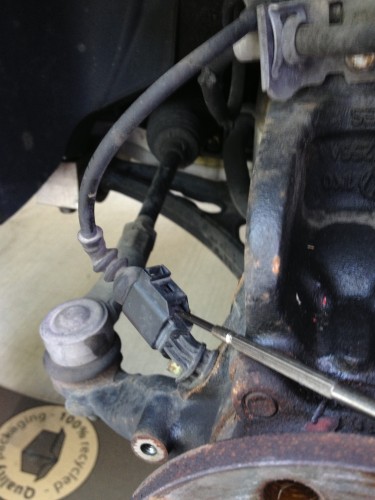
The brake sensor needs disconnecting. Note where the screwdriver is at to pop up the clip to allow for separation.

The old wheel hub is completely exposed.
7. From here there are four triple square bolts on the backside of the hub that holds the hub in place. After taking off the dust shield you can look around the back and see them. You’ll need to break the bolts and take each one out before being able to take off the hub. This is where things get a bit tricky. To get to the point where you can access these bolts, you’ll need to push the axle out of the hub as far as you can.
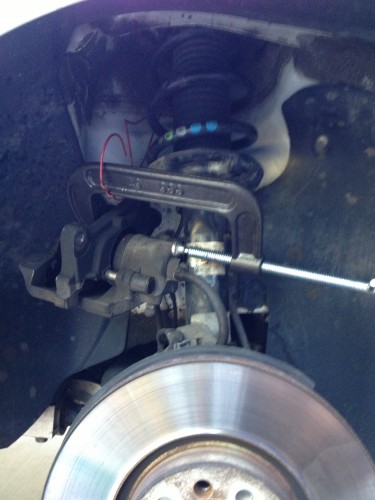
Start by taking your socket extension and gently tapping the center of the axle. You can see and feel it slide backward with just a little bit of pressure. The axle will not come all the way out of the hub, so don’t go hammering it out as hard as you can. You should be able to get about 1.5-2 inches of slide out of the axle. Again, this extra space makes these four triple square bolts accessible.

Using the socket extension to GENTLY tap back the axle at the center of the hub.
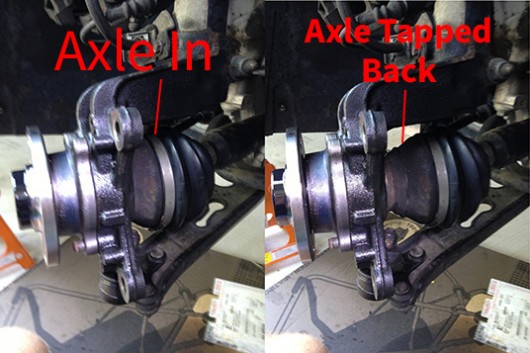
The left image shows the axle all the way. On the right, it shows the axle after being tapped back.
8. Once you’ve tapped the axle back, it’s time to work on the four triple square screws. Because we started by putting the car on jack stands, it makes this part much, much easier. To start, turn the wheel full lock to the right to expose the front end of the wheel hub and give you a lot of extra room to work on these bolts. It takes some creative wedging of the M12 Triple Square driver you have, but eventually, you’ll get it. I had to use a breaker bar with my 3/8 adapter and extension to finally break each bolt. Apply PB Blaster liberally!!
After getting the first two bolts out, turn the wheel full lock left and repeat the bolt-breaking process again!
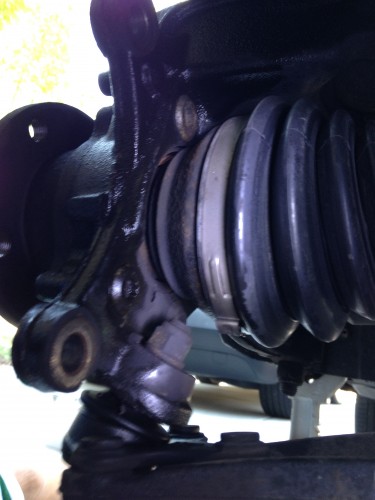
The top and bottom wheel hub bolts towards the front of the hub.
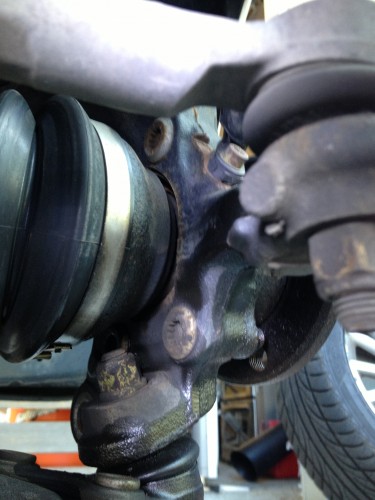
The top and bottom bolts are on the rear of the wheel hub.
What the little triple square bolt bastards look like once they’re out!
9. After all of the bolts are removed, it’s time to take out the old hub and replace it with the new one. The old hubs are a super pain to get out of. First, apply TONS of PB Blaster all around the hub. After letting it sit for a moment, take your rubber mallet and begin the long process of loosening and slowly hitting out the old hub by hitting it from behind in multiple places. It will eventually come out after some angry pounds from your mallet and a few swear words.
Once the old hub is out, put the new one in, follow these directions in reverse, and enjoy a buzz-free car.
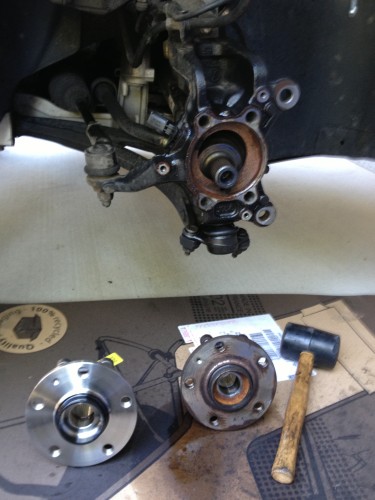
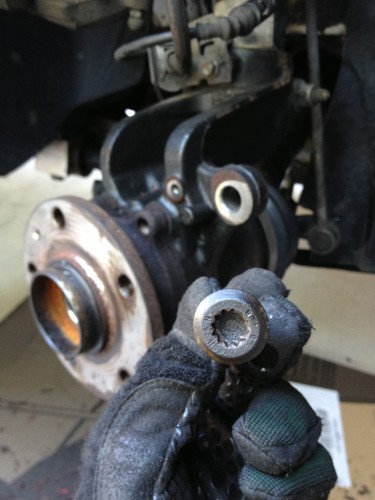
The old hub is next to the new hub as well as the completely exposed axle.
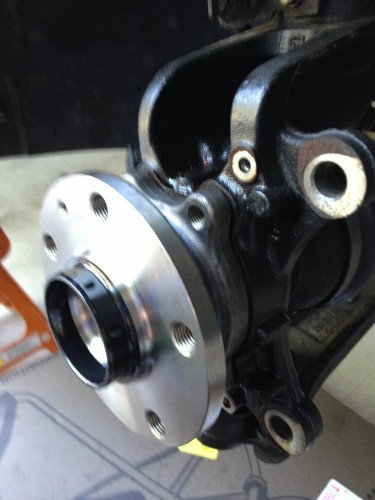
A view of the new wheel hub was put into place on the A3.
By, Chad WaiteHello and welcome my loyal readers and first-time visitors to The Daily Derbi. Here you will find a flurry of articles covering anything from industry news to driving tips and the newest gears.